

Materials needed
If you’re specifically replacing laces on Salomon shoes, make sure the replacement laces you buy are thin enough for the eyelets / loops on your Salomon.
If you’re changing other shoe brands, there tends to be more room to fit traditional laces, so you can buy alternative brands of locking laces (like Lock Laces).
Scissors: for cutting off your old laces, and cutting the new laces down to size
A lighter / controllable small flame (optional)
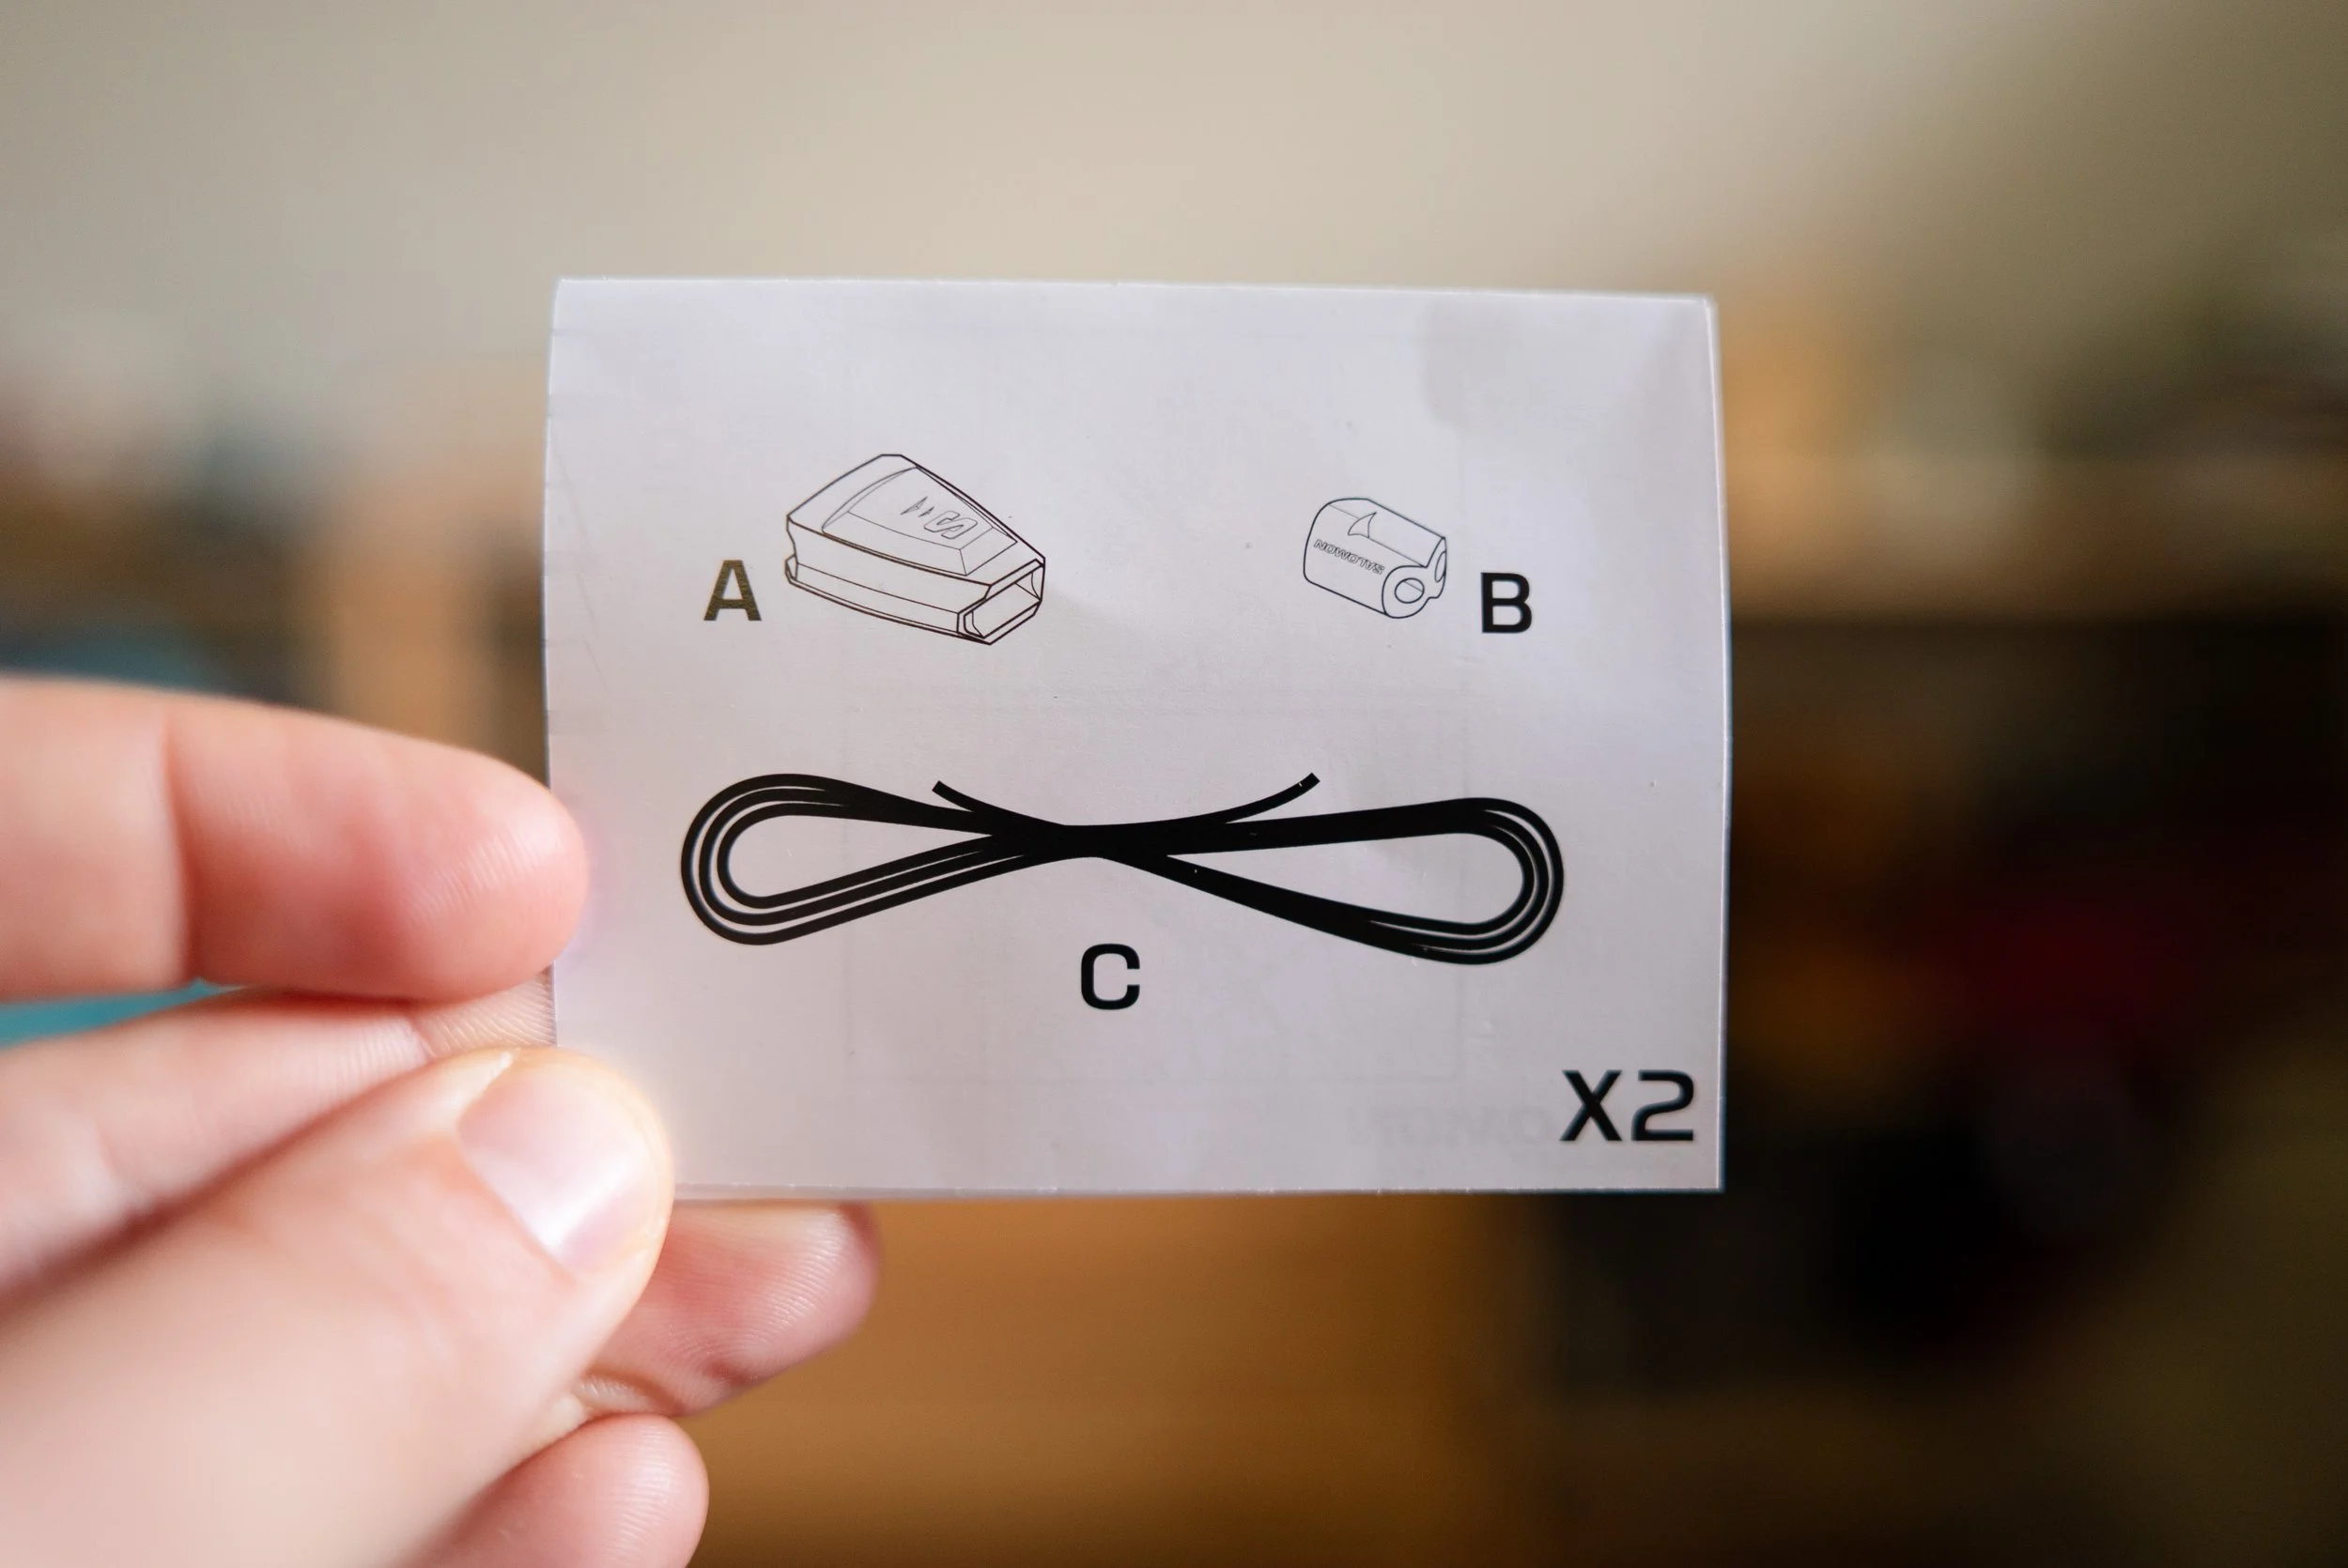
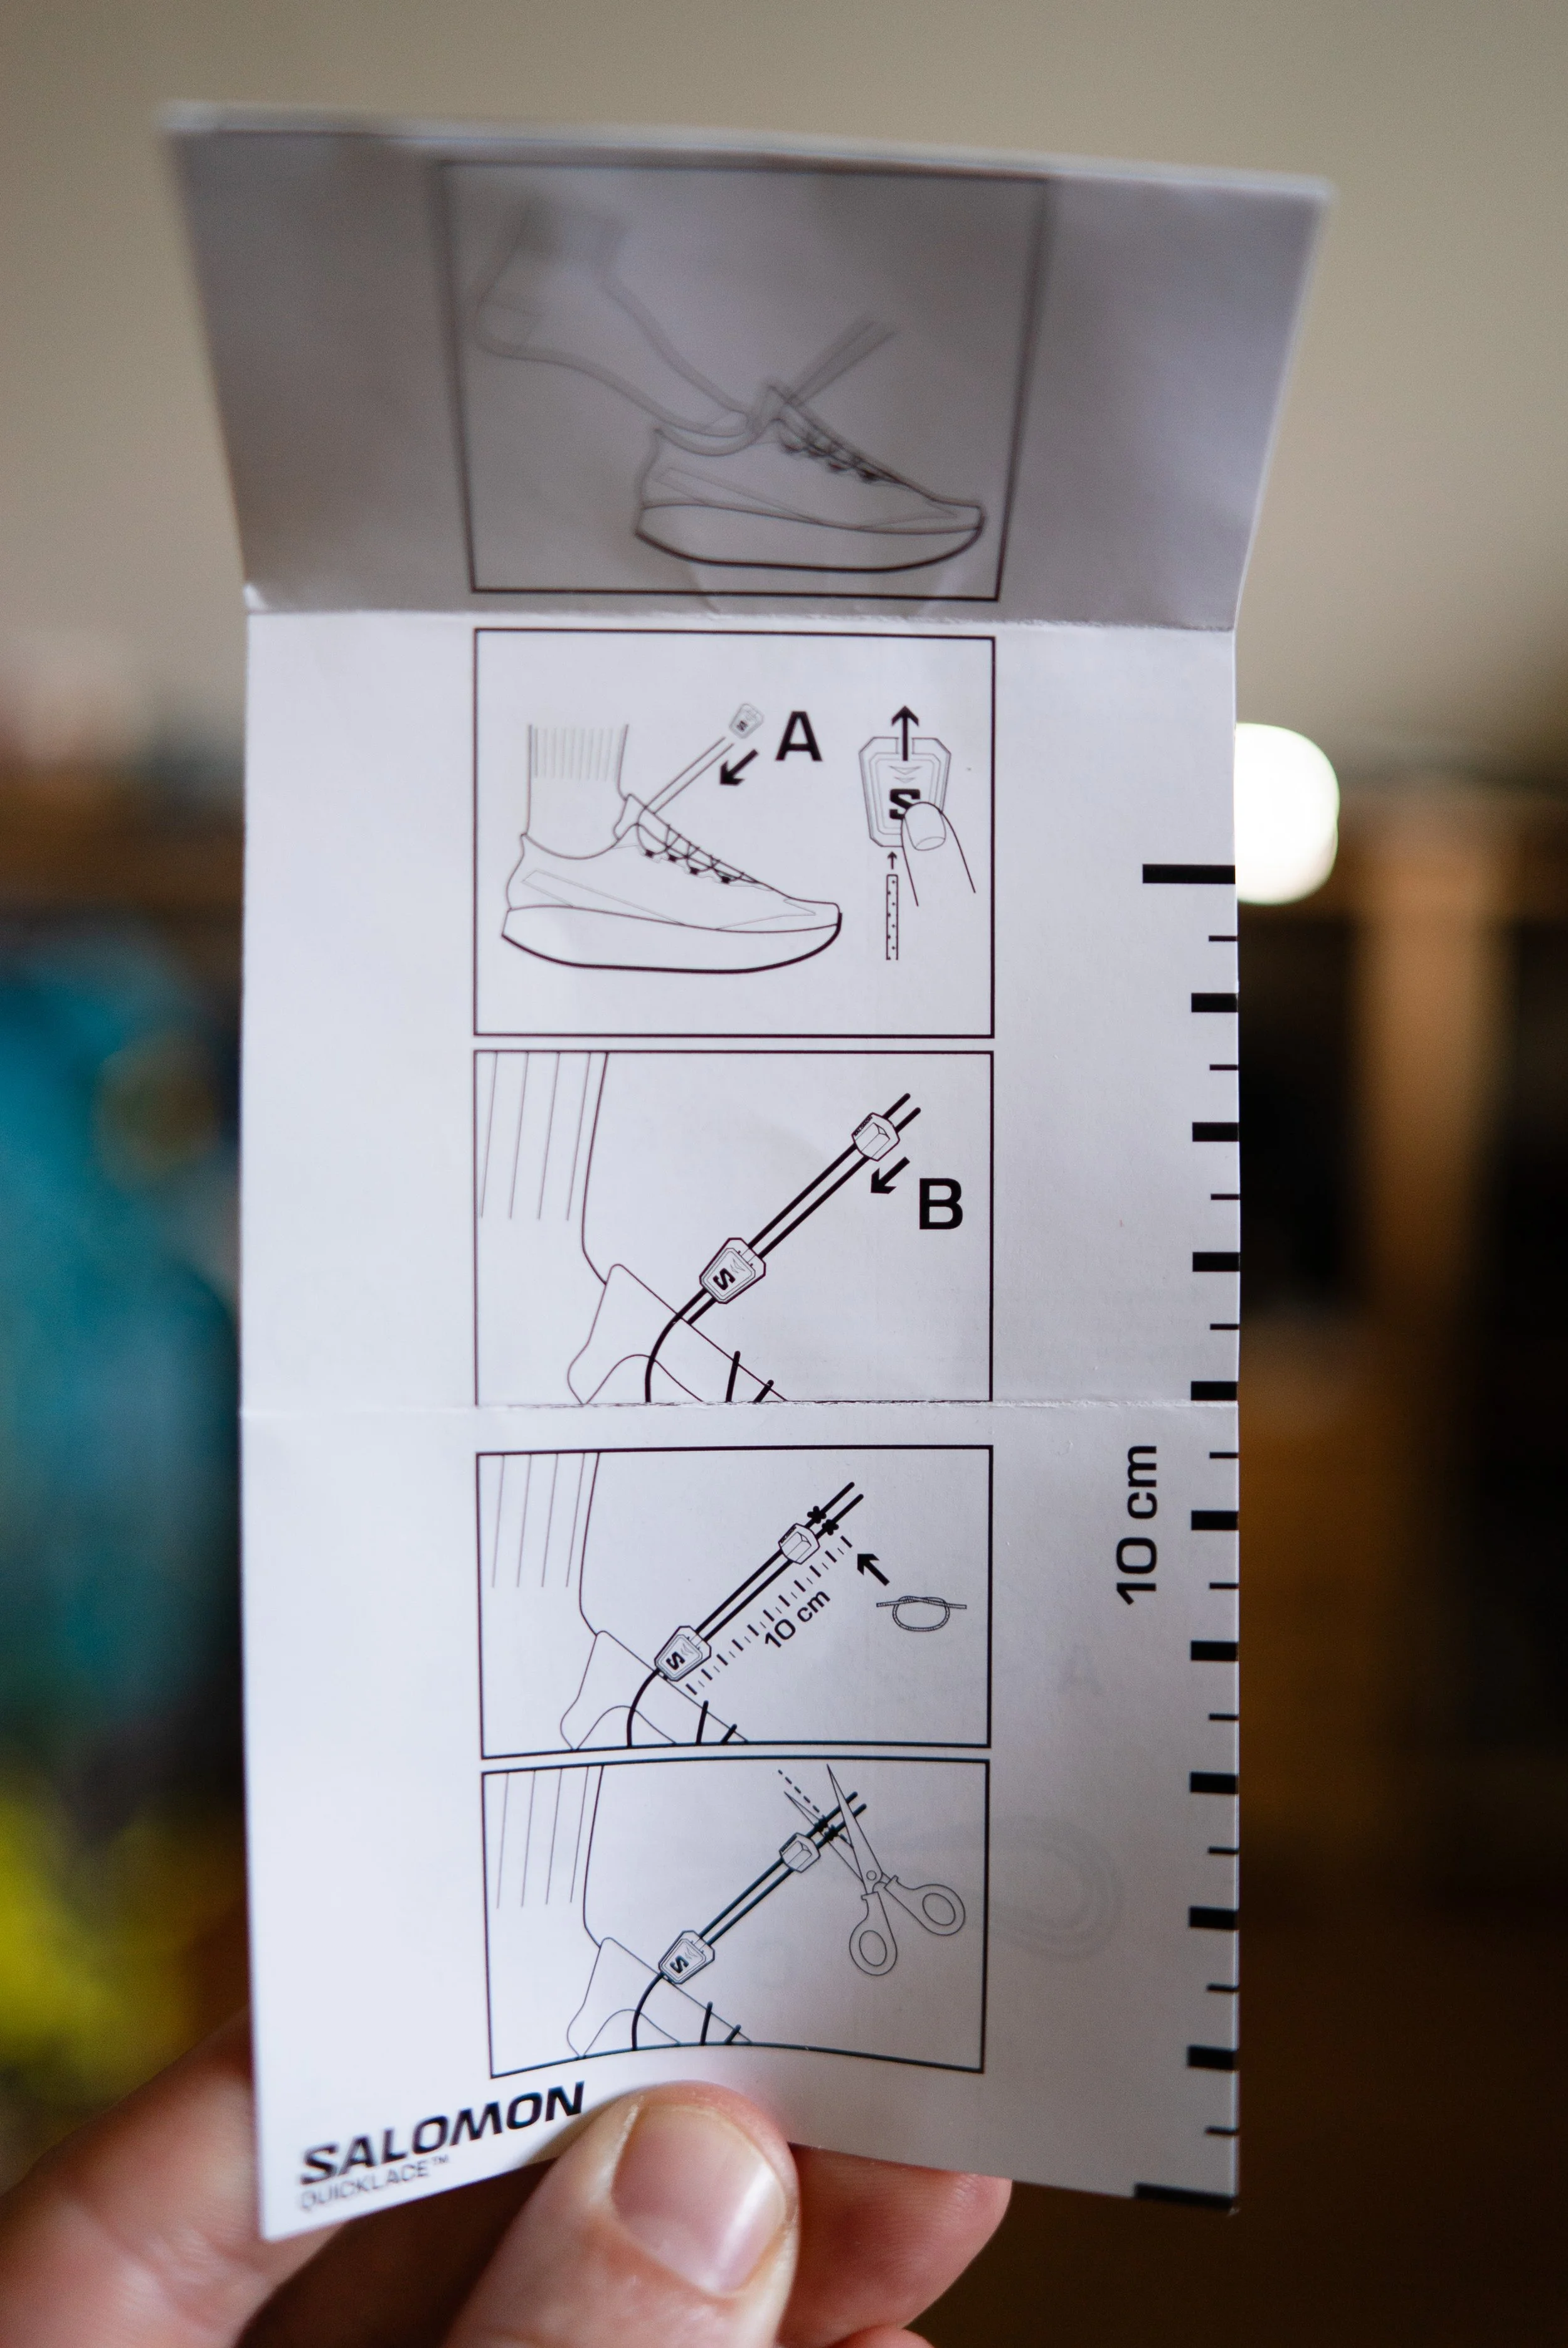
Most lacing kits will come with their own simple instructions, so check if there are any obvious differences between what I’m sharing and your own laces.
Steps
1. Cut off or unthread the old lace from your shoe. If it is just the mechanism that’s broken you can consider cutting the very top of the lace so as to loose the least amount and reuse the existing lace. However, check the lace well to make sure that there aren’t any wear points, so that you’re not re-doing this job in a few months time.
2. Thread through the new lace (part C). From watching other people’s videos and reading reviews, this can often be the trickiest part for some, depending on how thin or narrow the eyelets are for the lace. If you’ve long loops to thread through, try applying pressure to the top or inside, to compress the shape and cause it to open slightly more. Others seem to find attaching a paper clip to the lace and pulling that through to be an easier option.
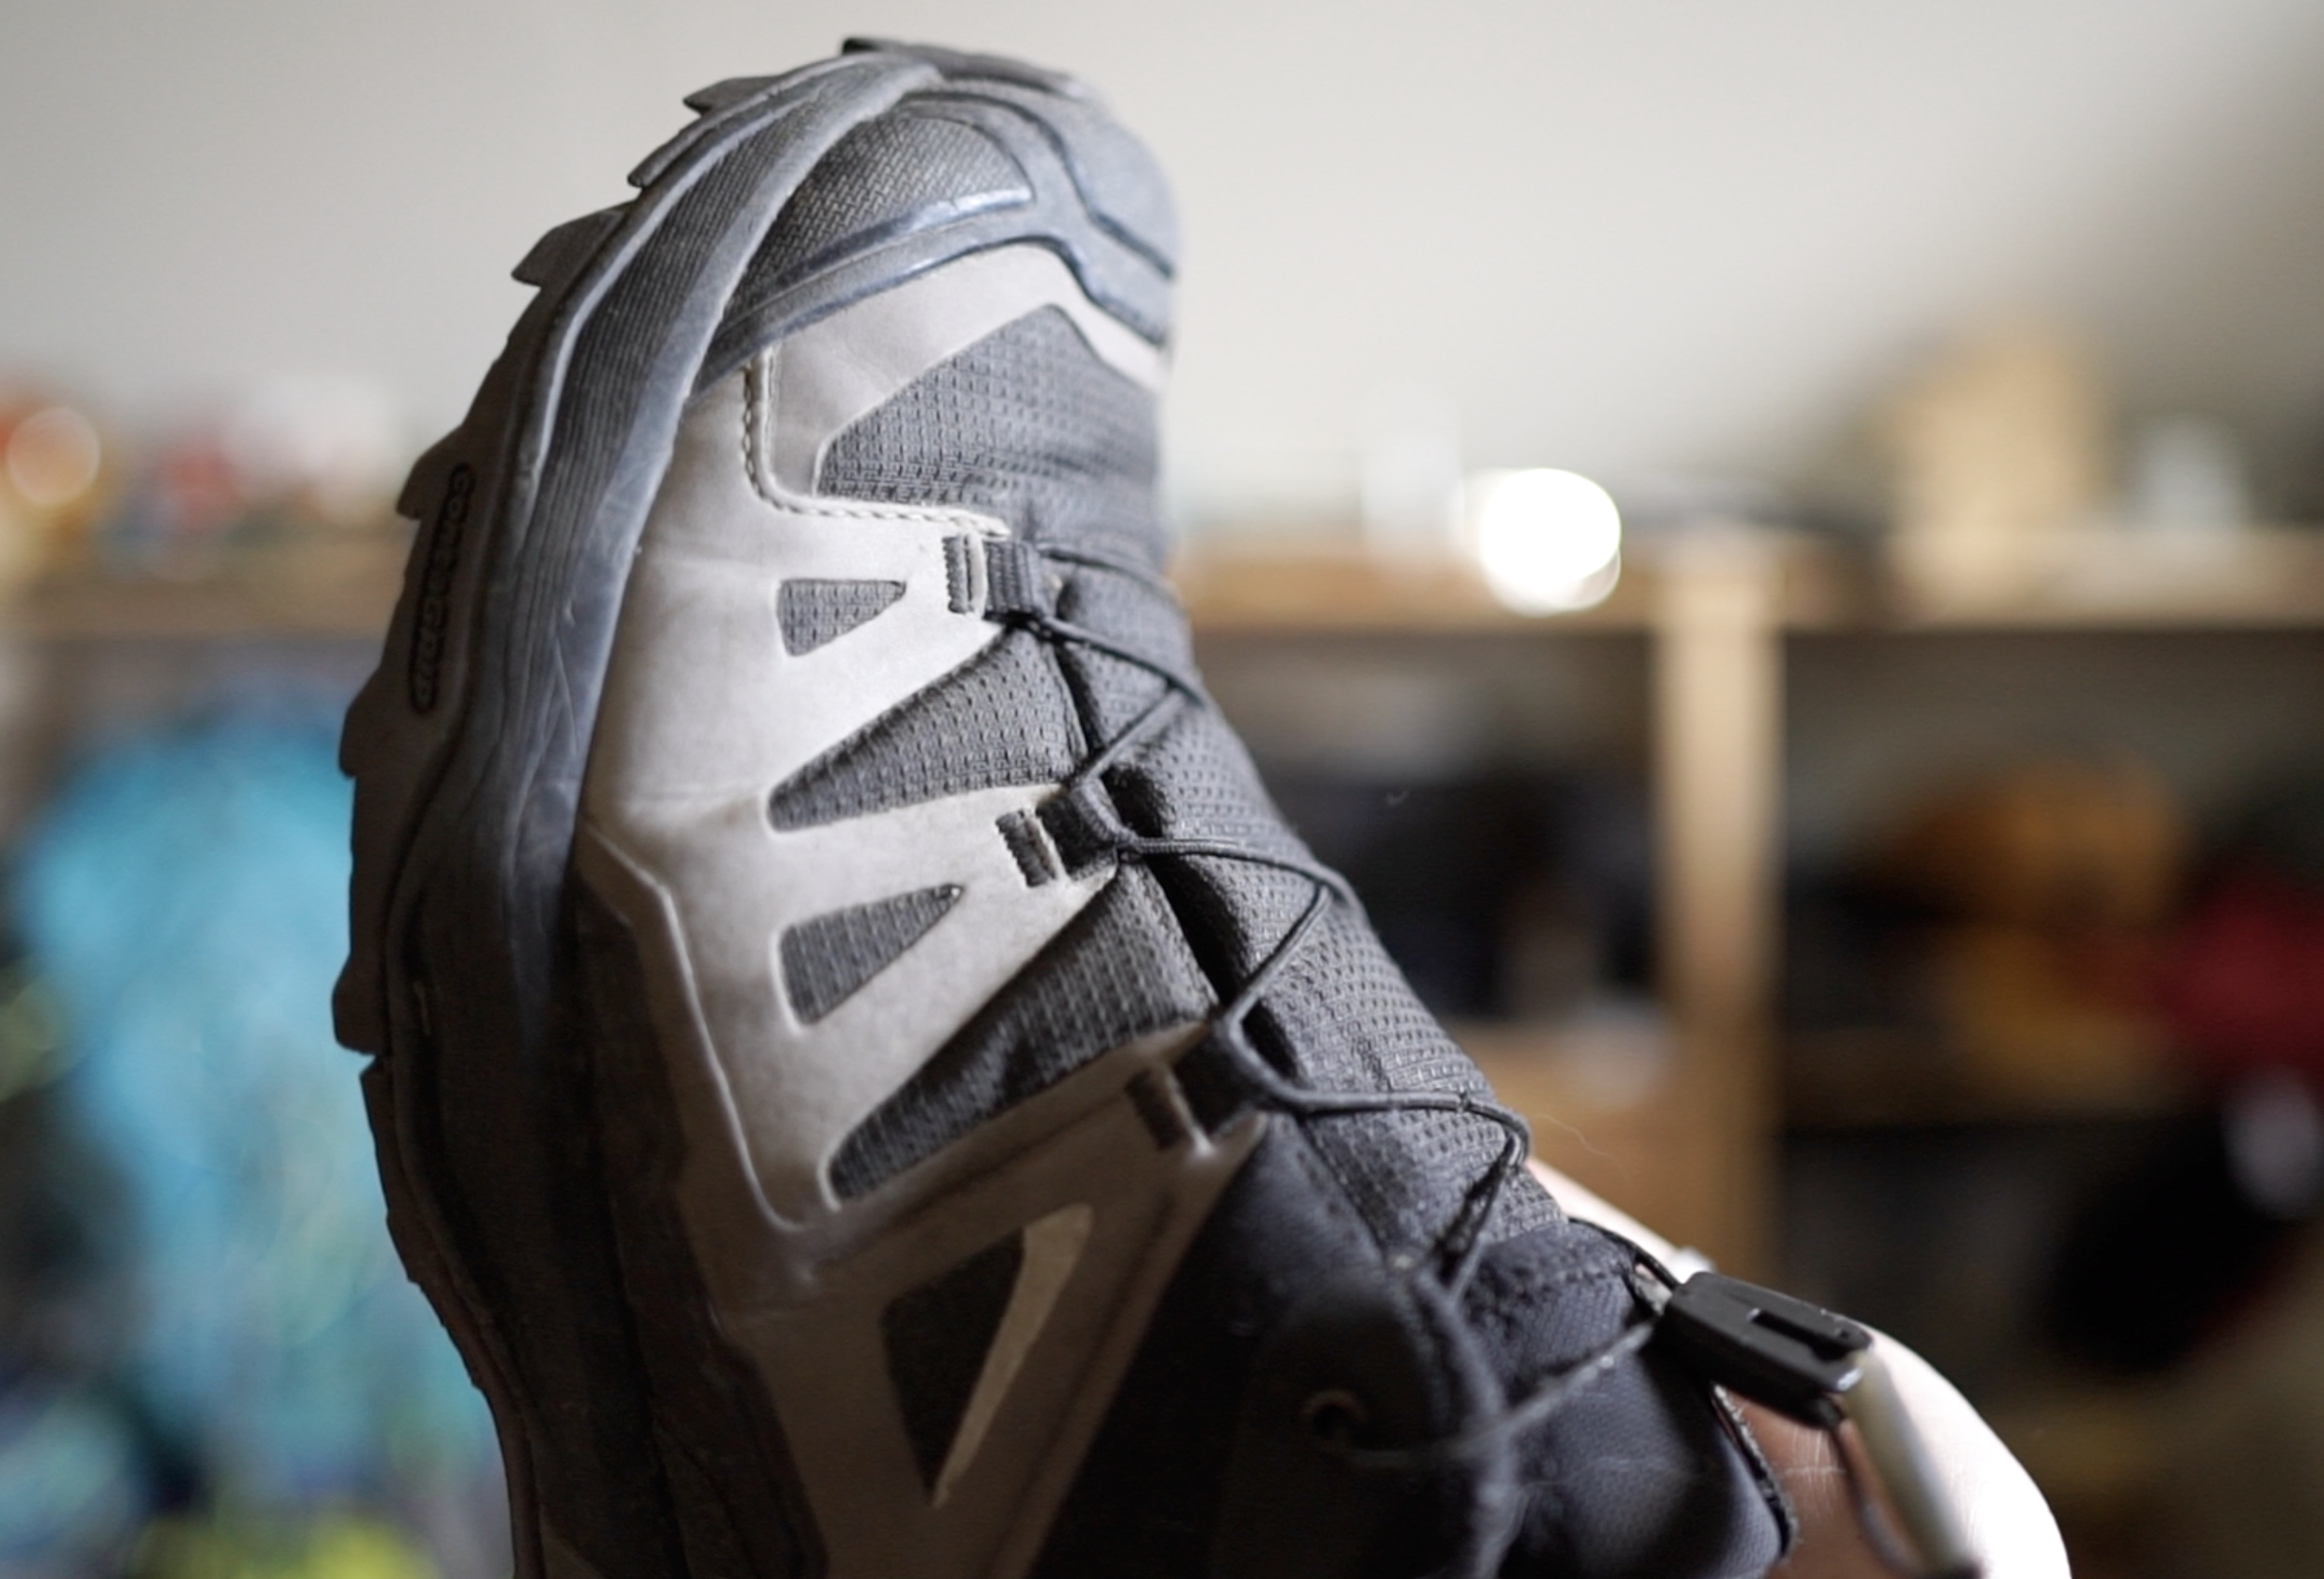
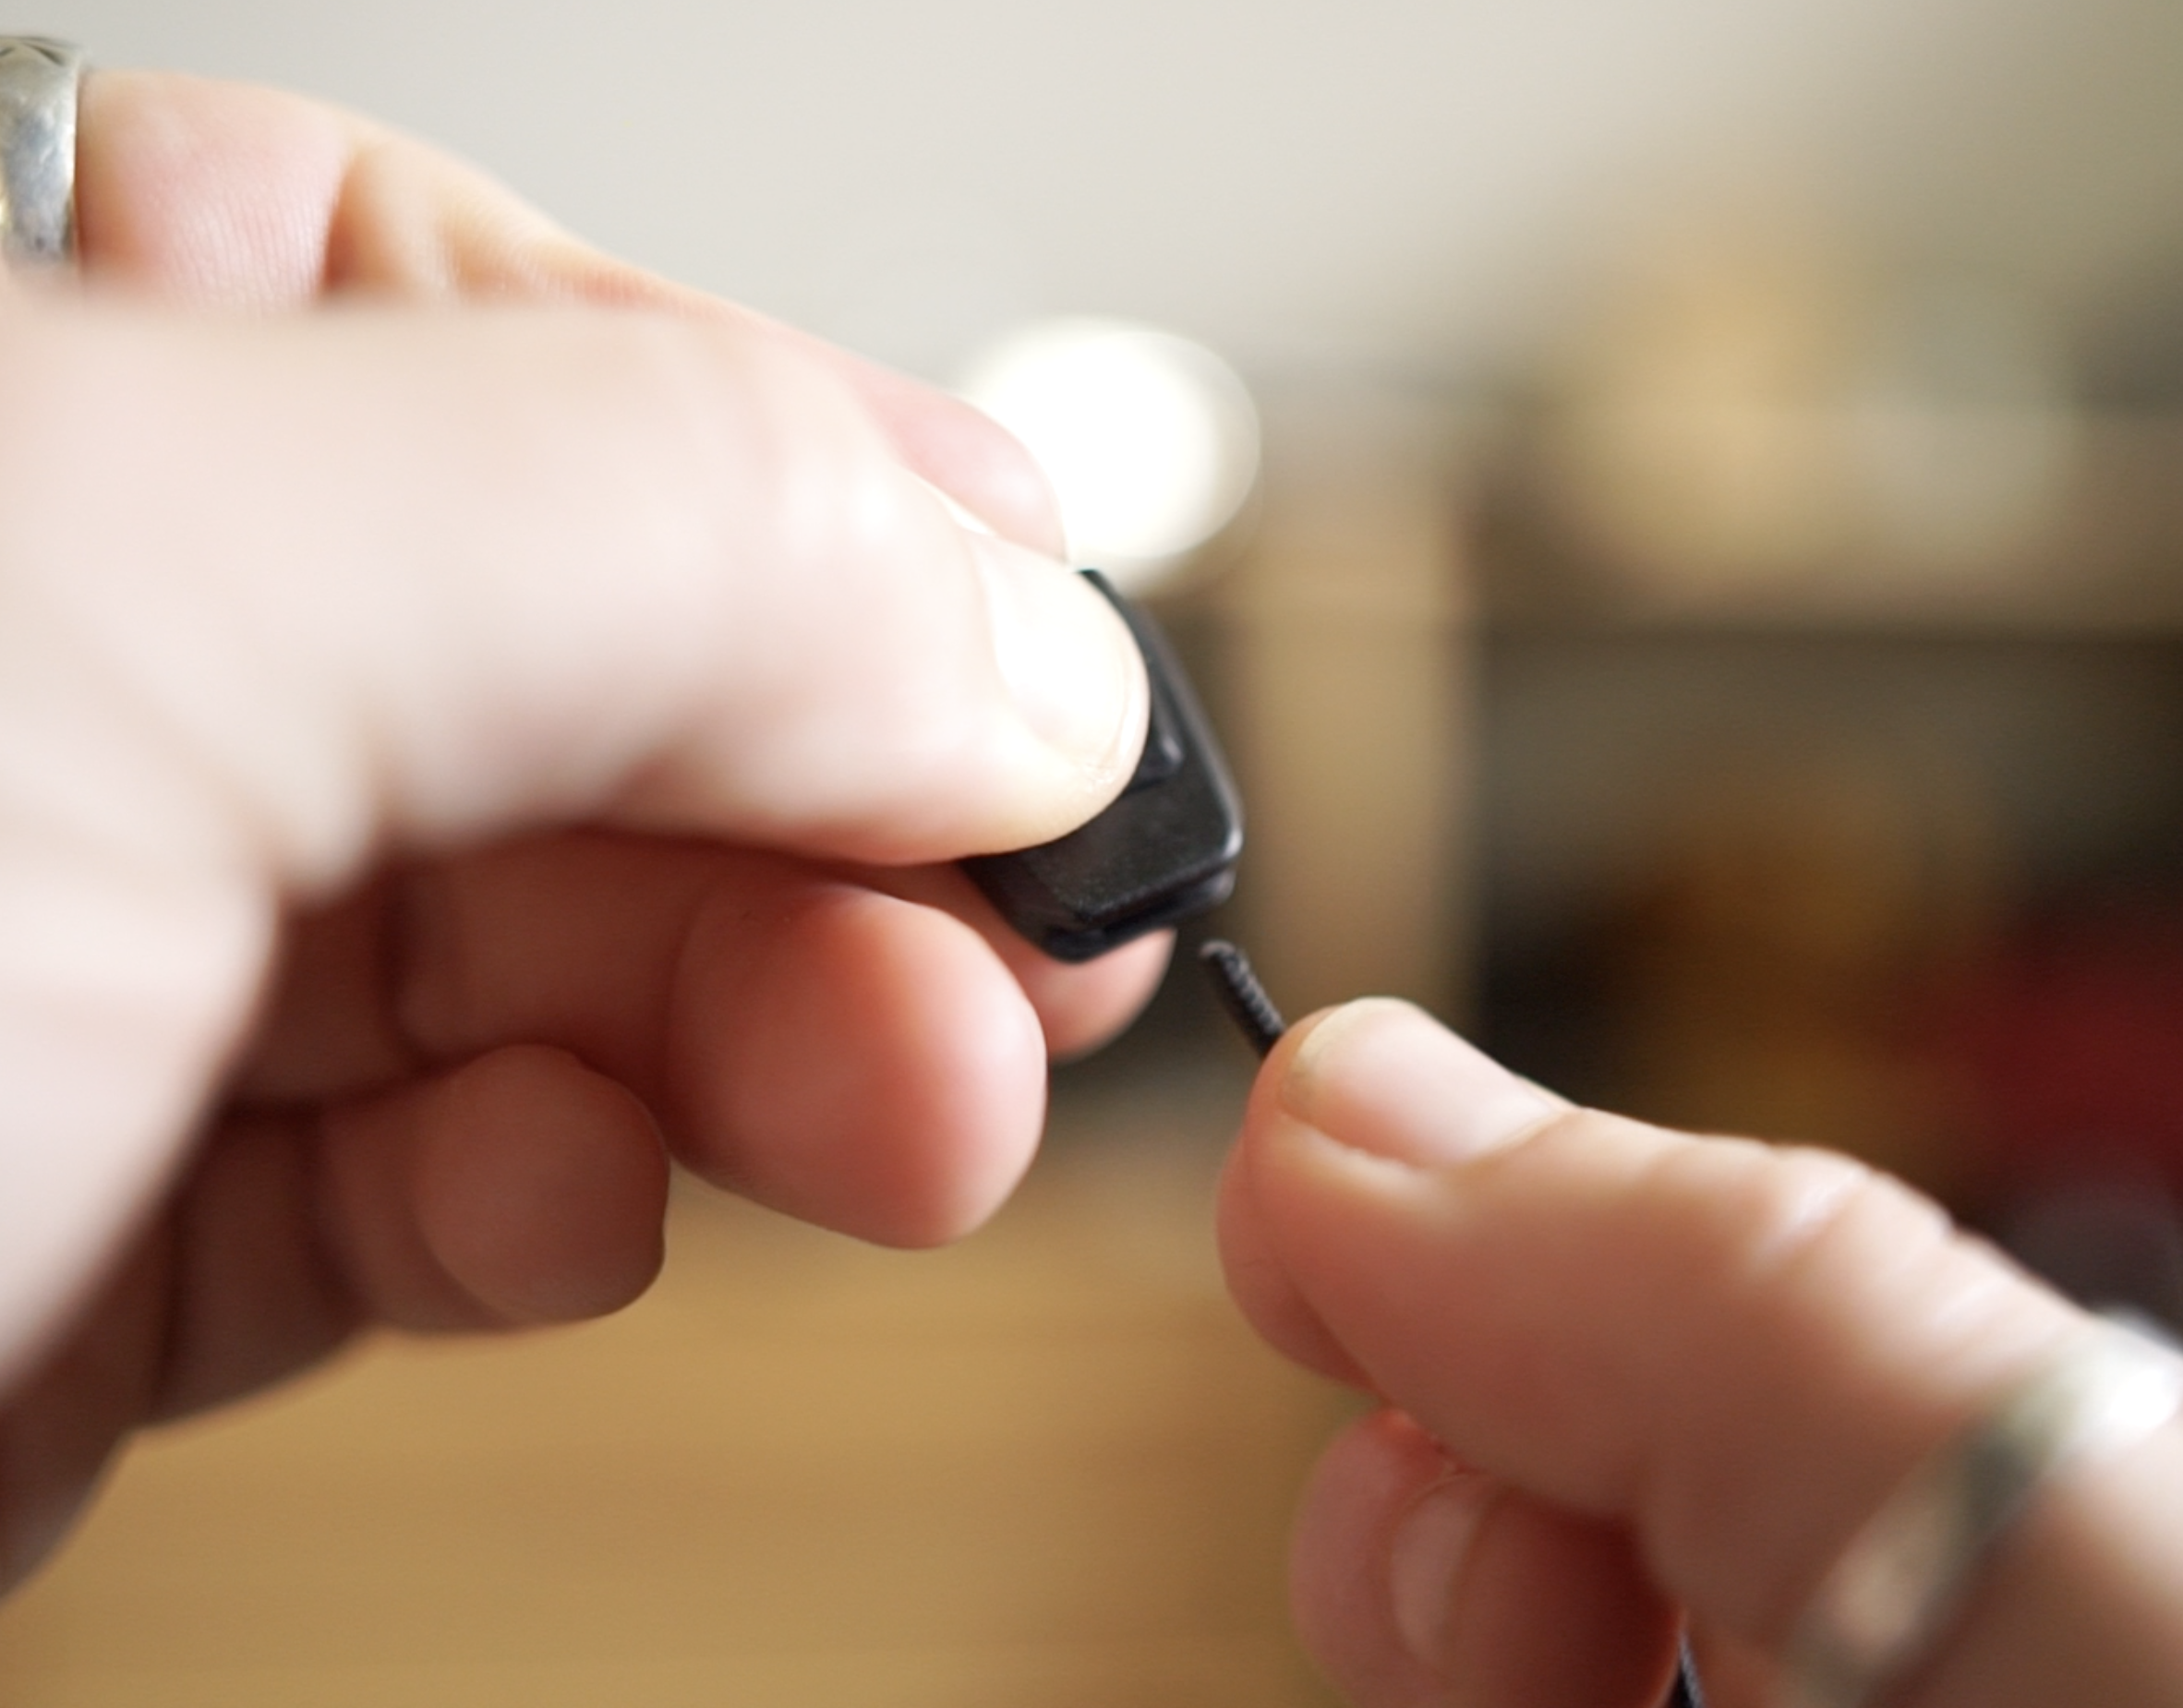
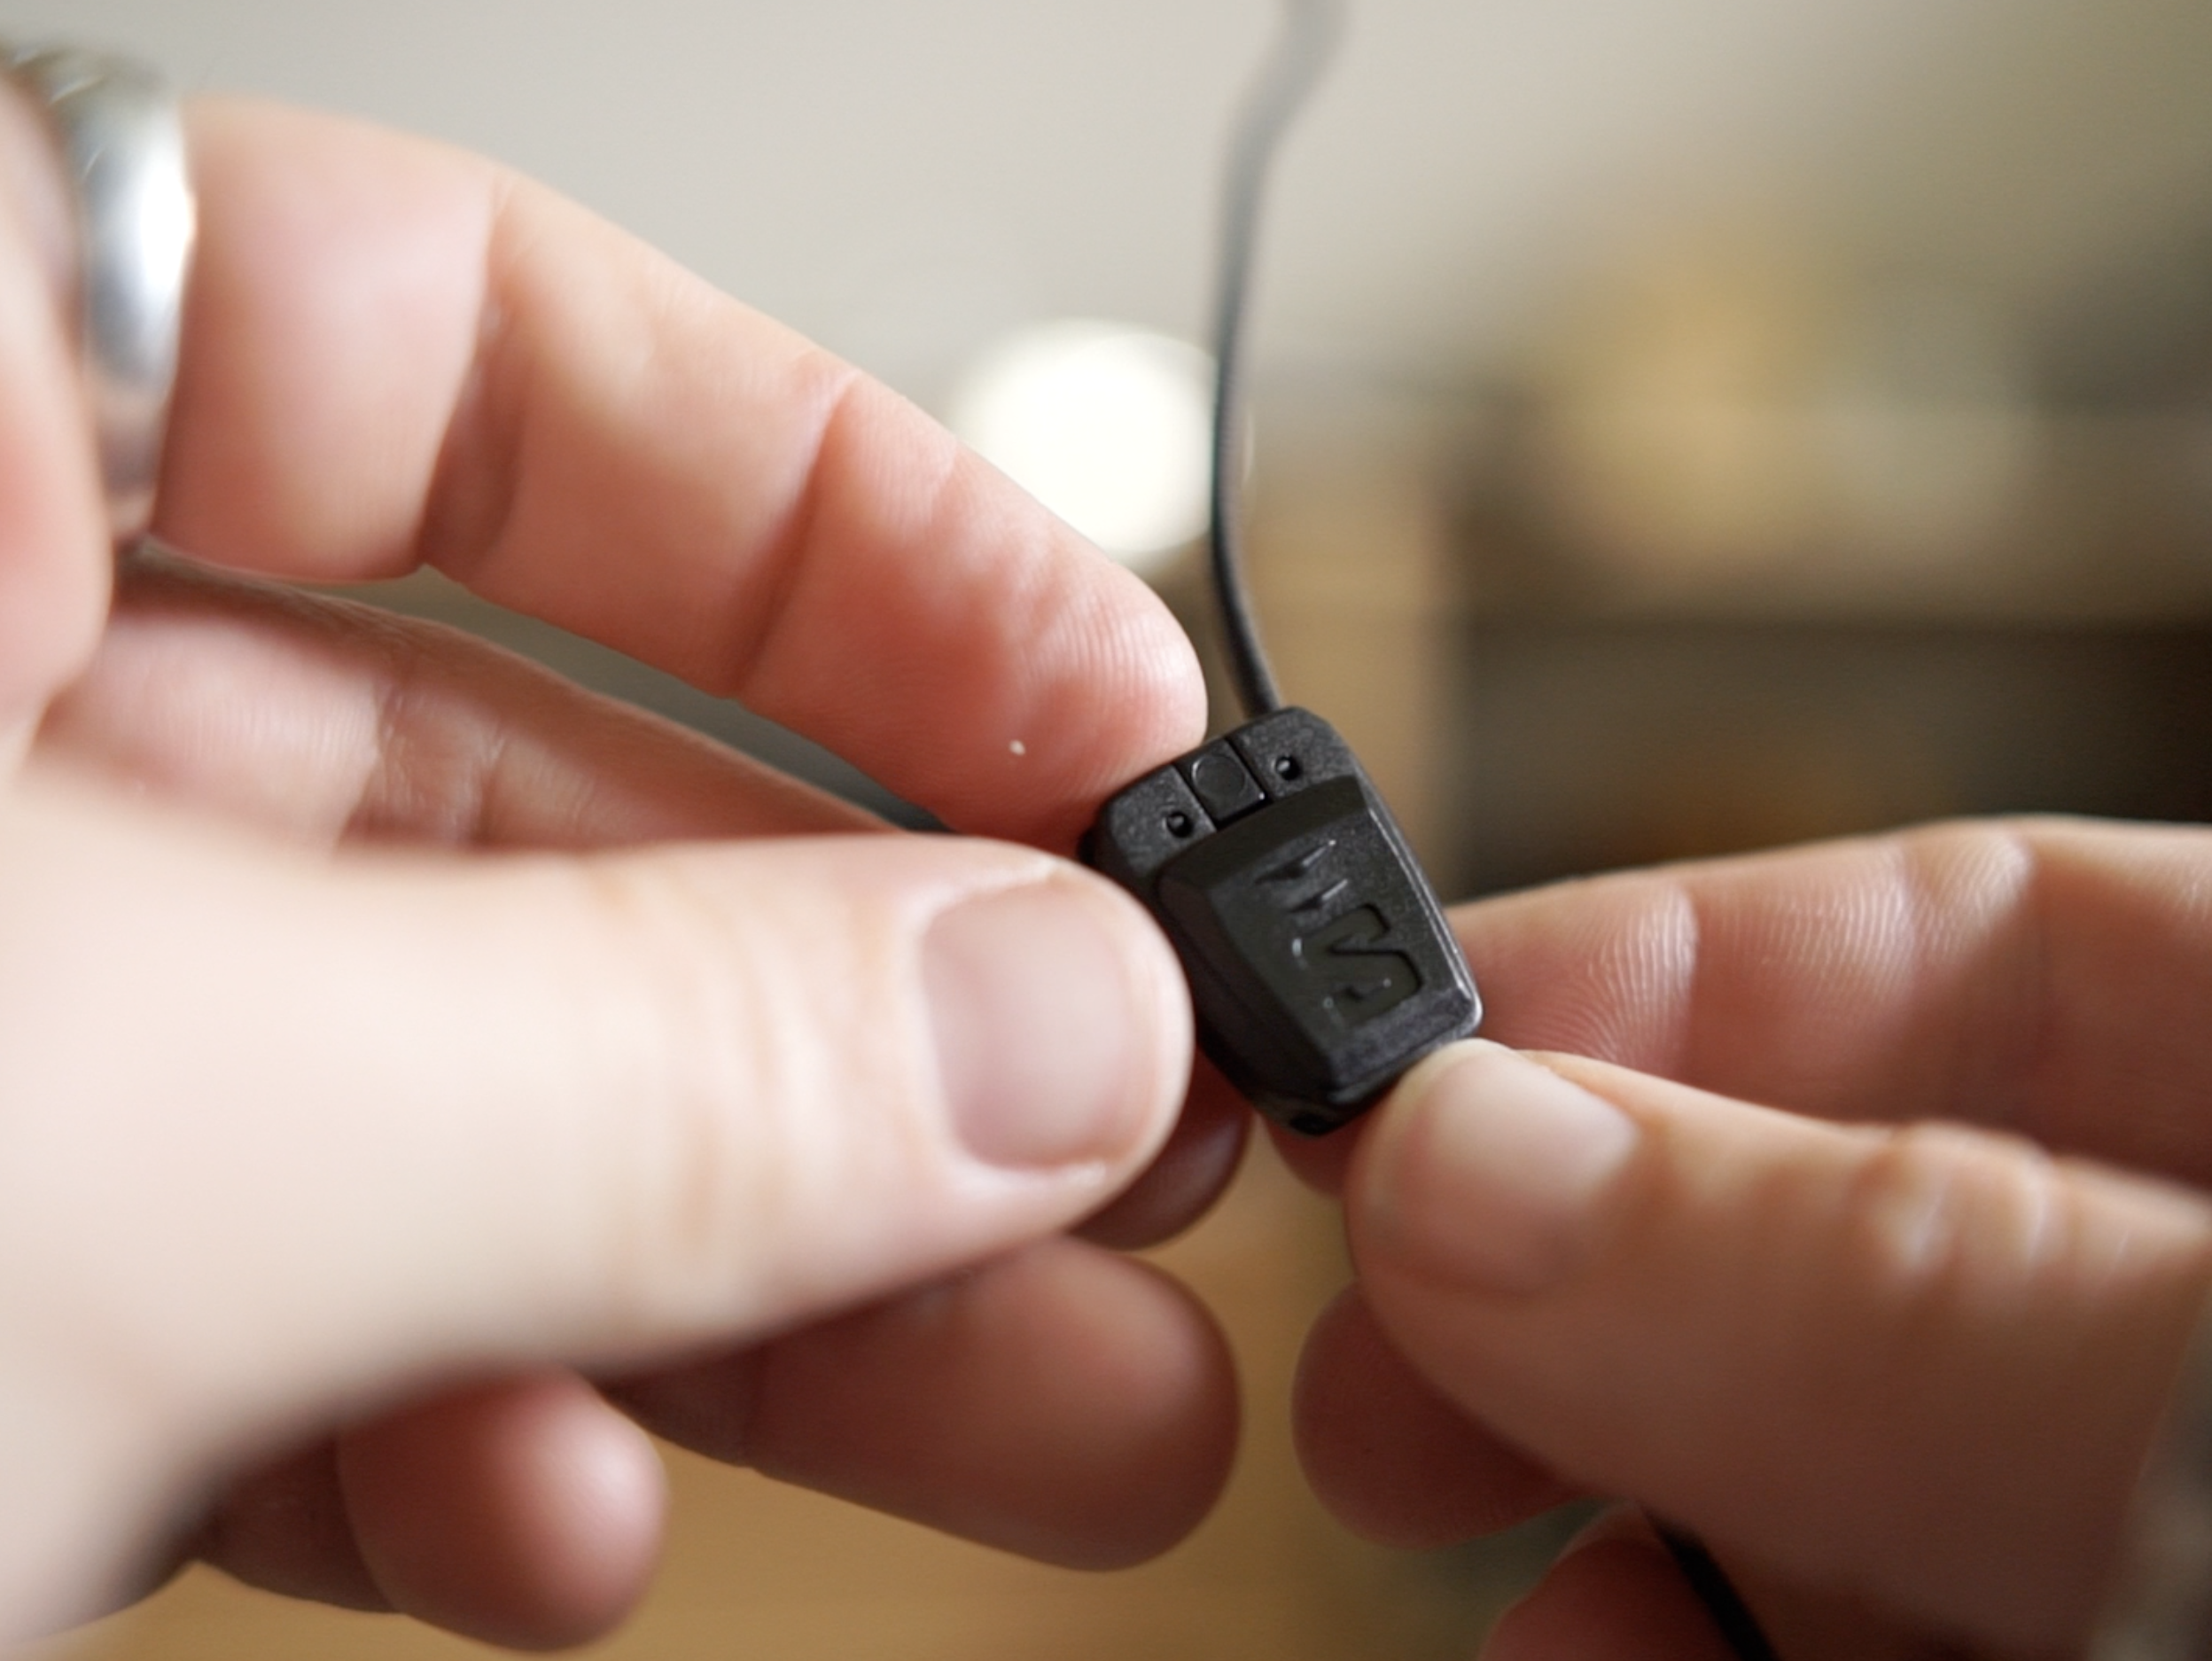
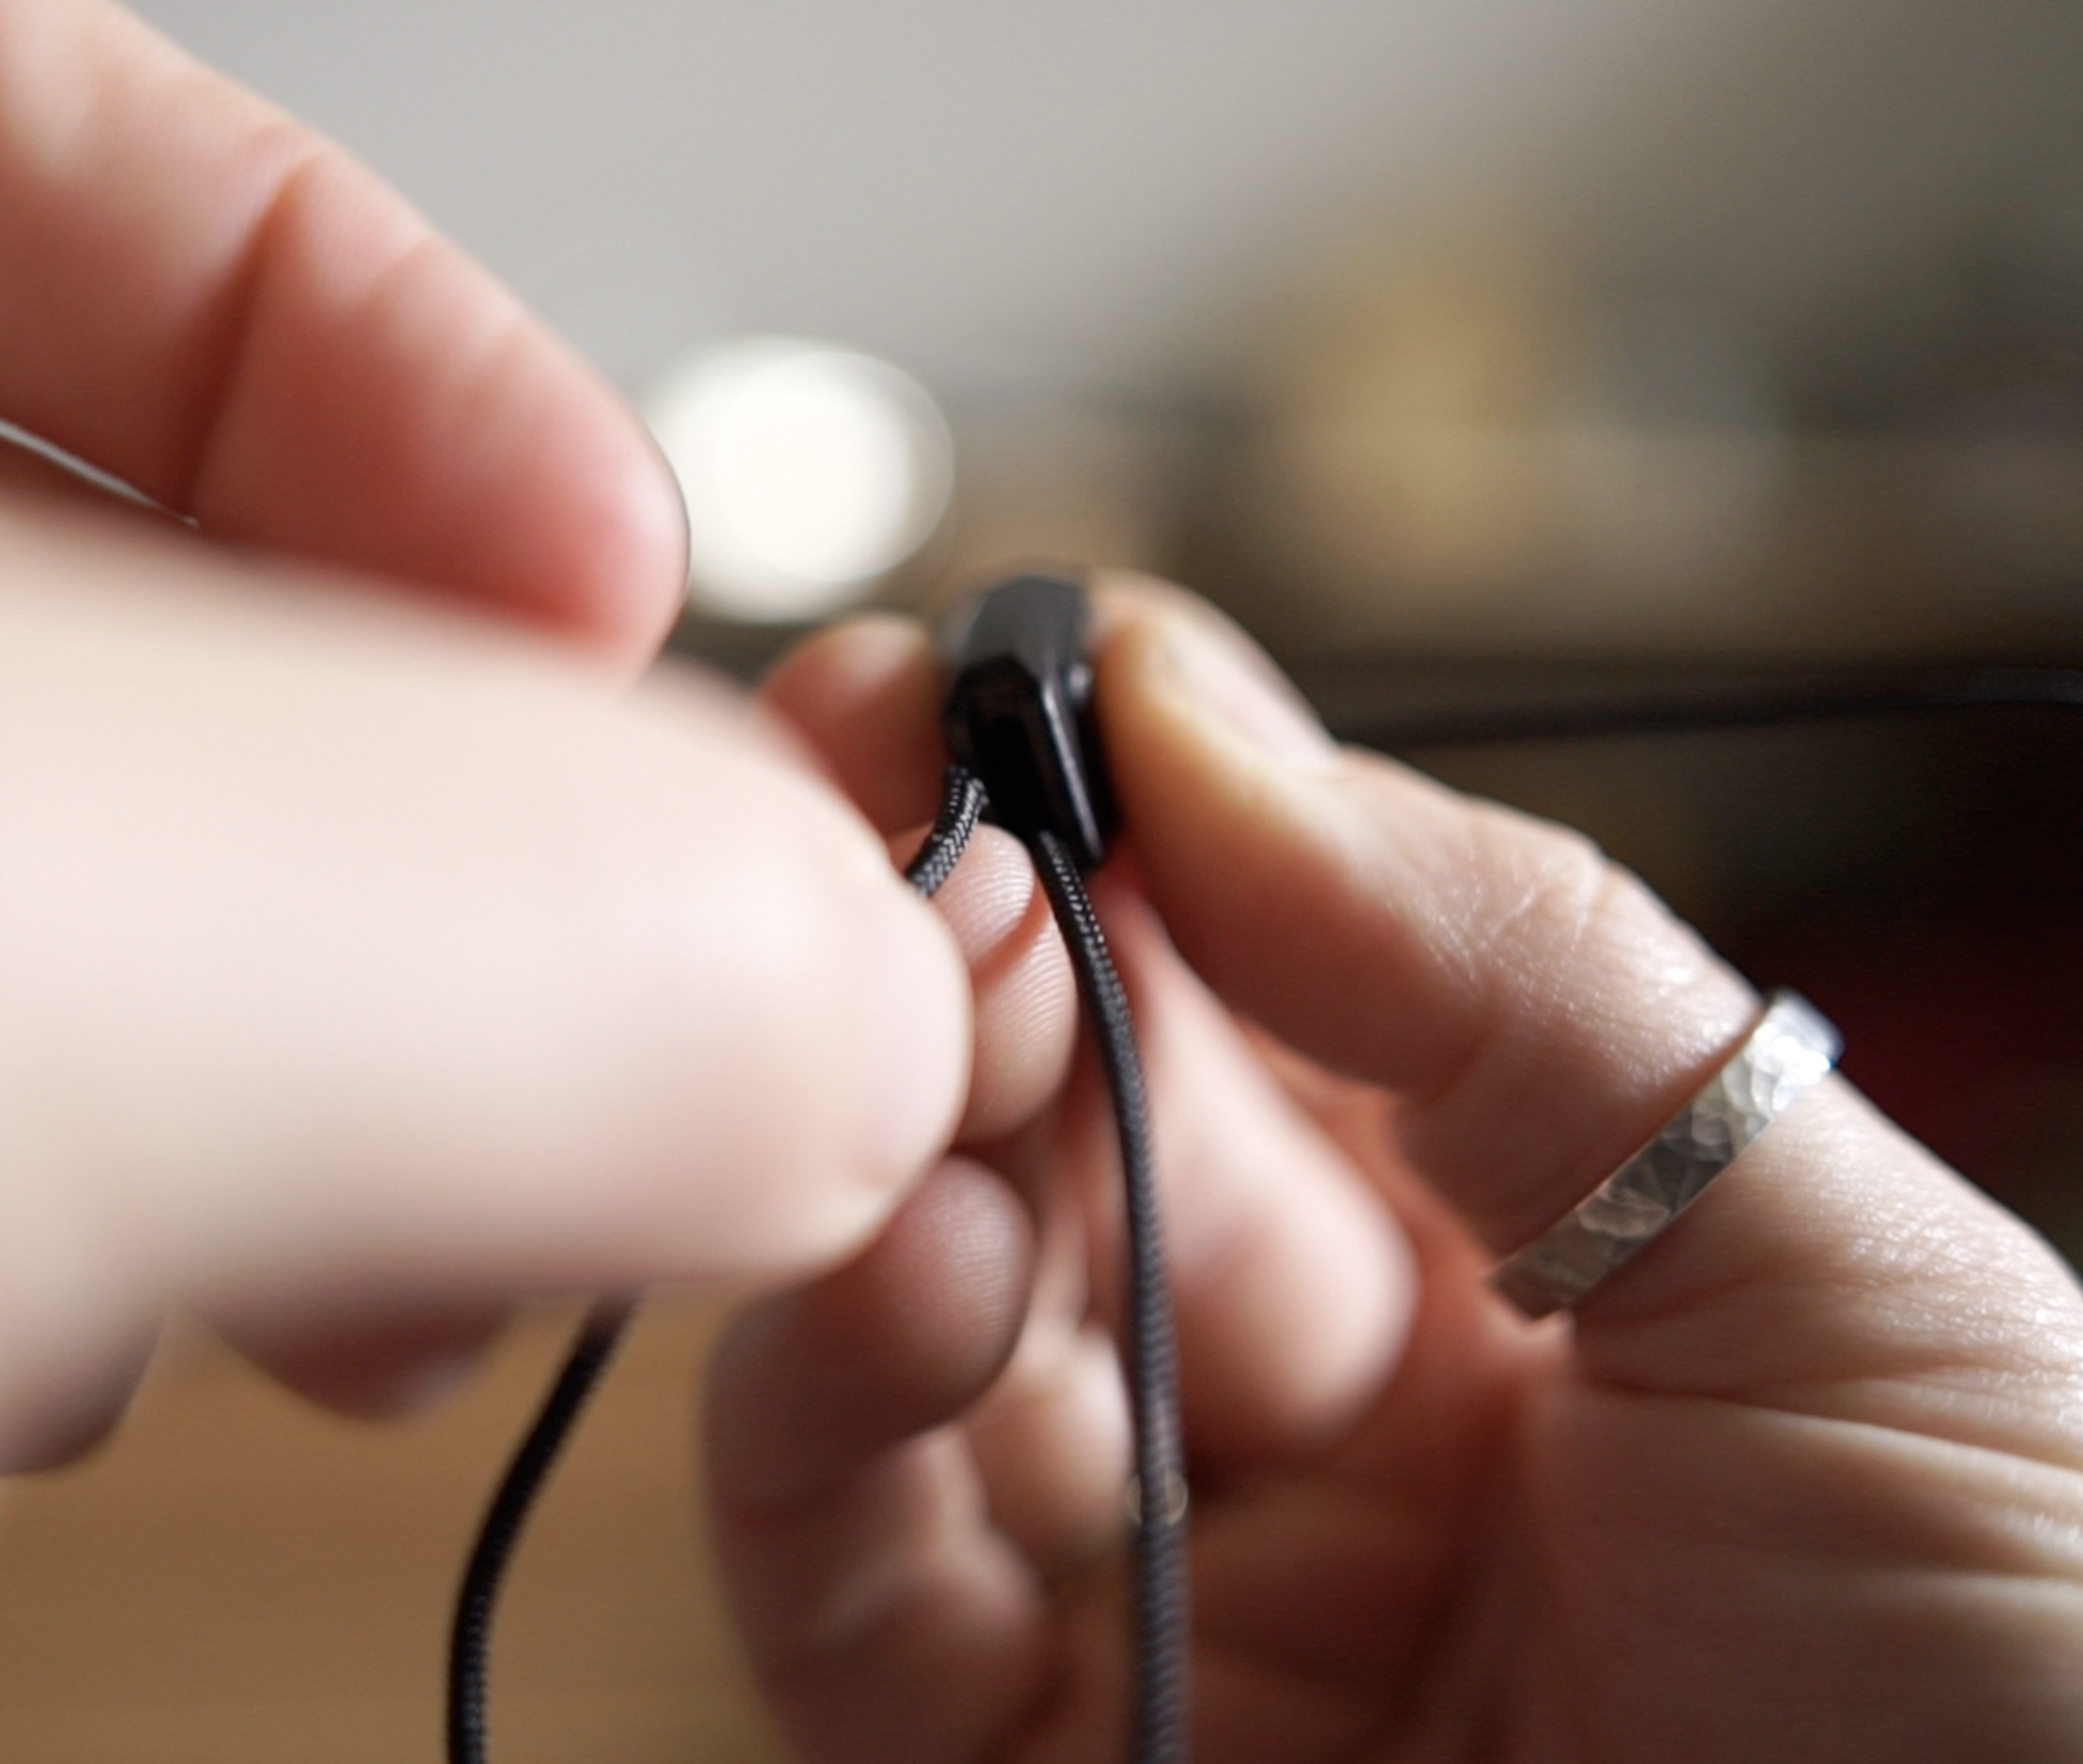
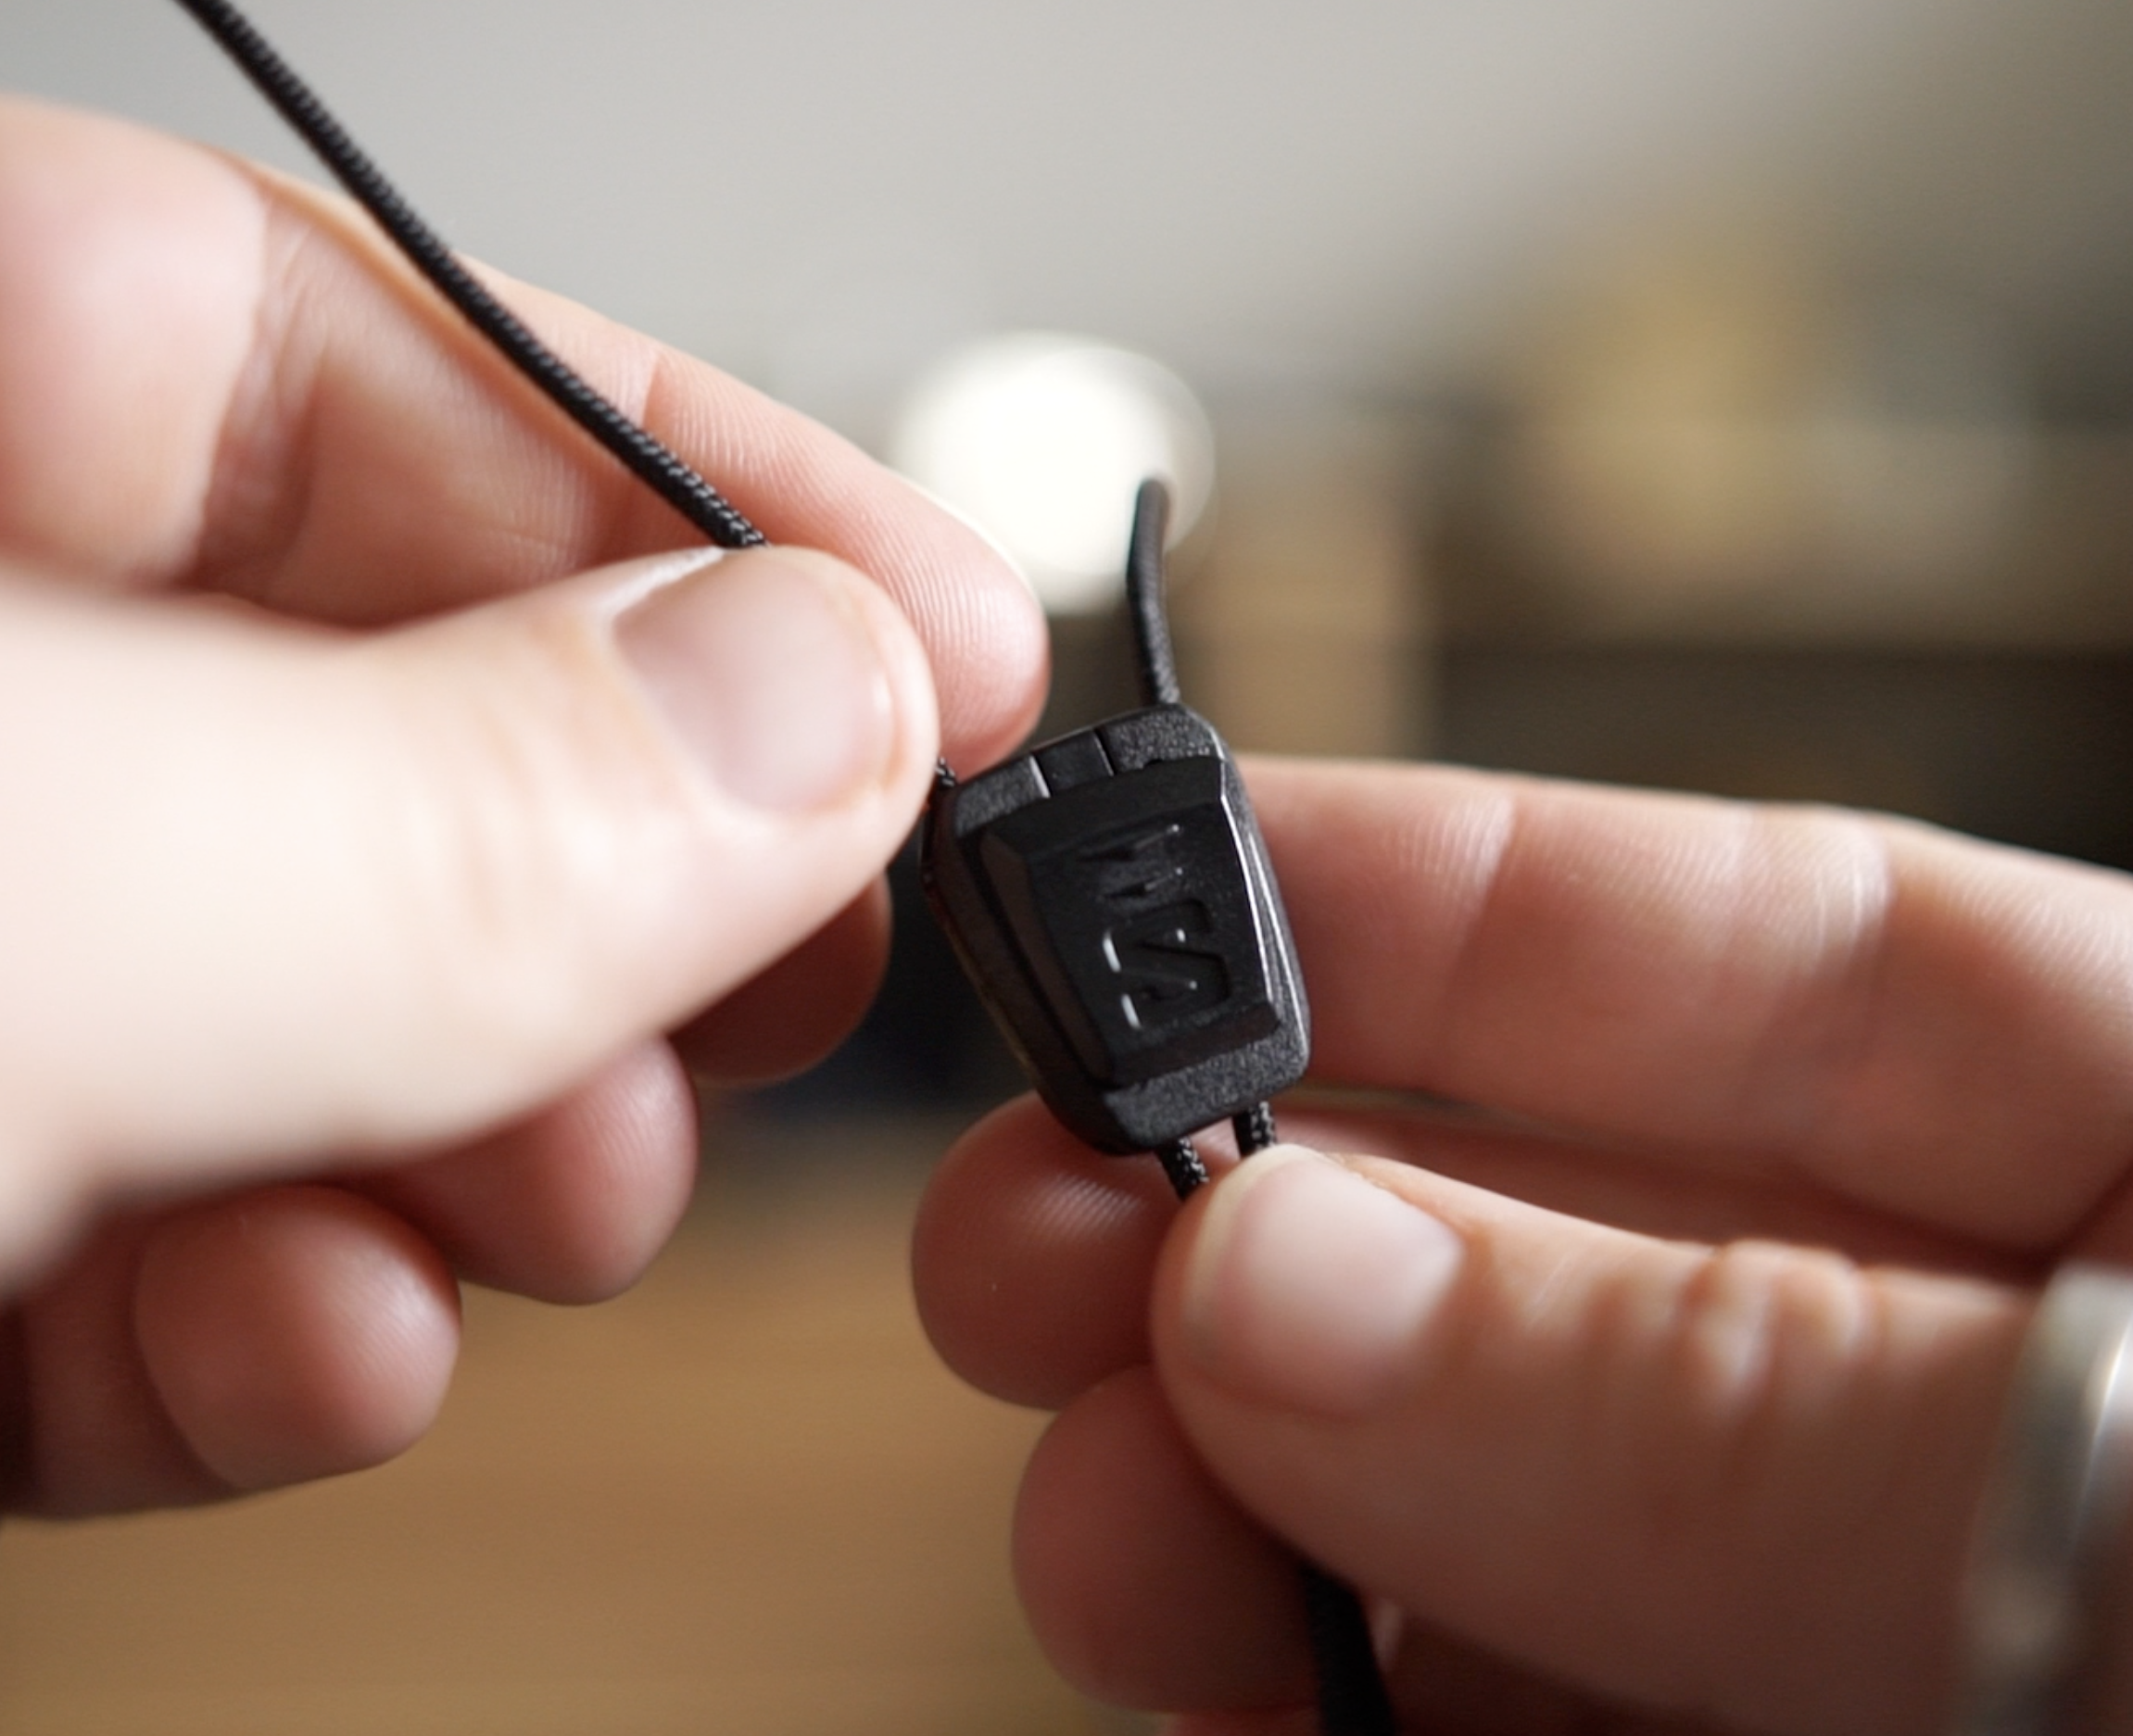
3. Attach the new locking mechanism (part A). This will vary depending on the locking mechanism you have. The style that I bought, the replacement was very easy. Simply hold the device in the “open” position, and thread the lace from the bottom and out the top. The “bottom” on my set was the narrower end. I was able to hold the locking device with one hand, and thread the lace with the other.
4. Thread on the new lace stopper (part B). To prevent you loosening your laces so much that the locking mechanism comes off the end, there is a piece that joins or holds the ends of both laces. For me, this was a small piece of plastic that, when held upright, almost looked like a pair of shorts. Thread your lace through the individual legs / the smaller holes. I then loosely tied the laces just to keep the stopper on the laces.
5. Measure lace length before cutting. The recommended way for my lacing system was to put on the shoe, gently close the lace, and then leave approx. 10cm of extra lace of putting on and off the shoe.
6. Cut lace, and tie stopper knots. I then cut my laces and tied small knots. Using a lighter, I very gently burnt the freshly cut ends of the laces to stop them from fraying in the future. Once at the desired length, I pulled tightly to secure them in the lace stopper.

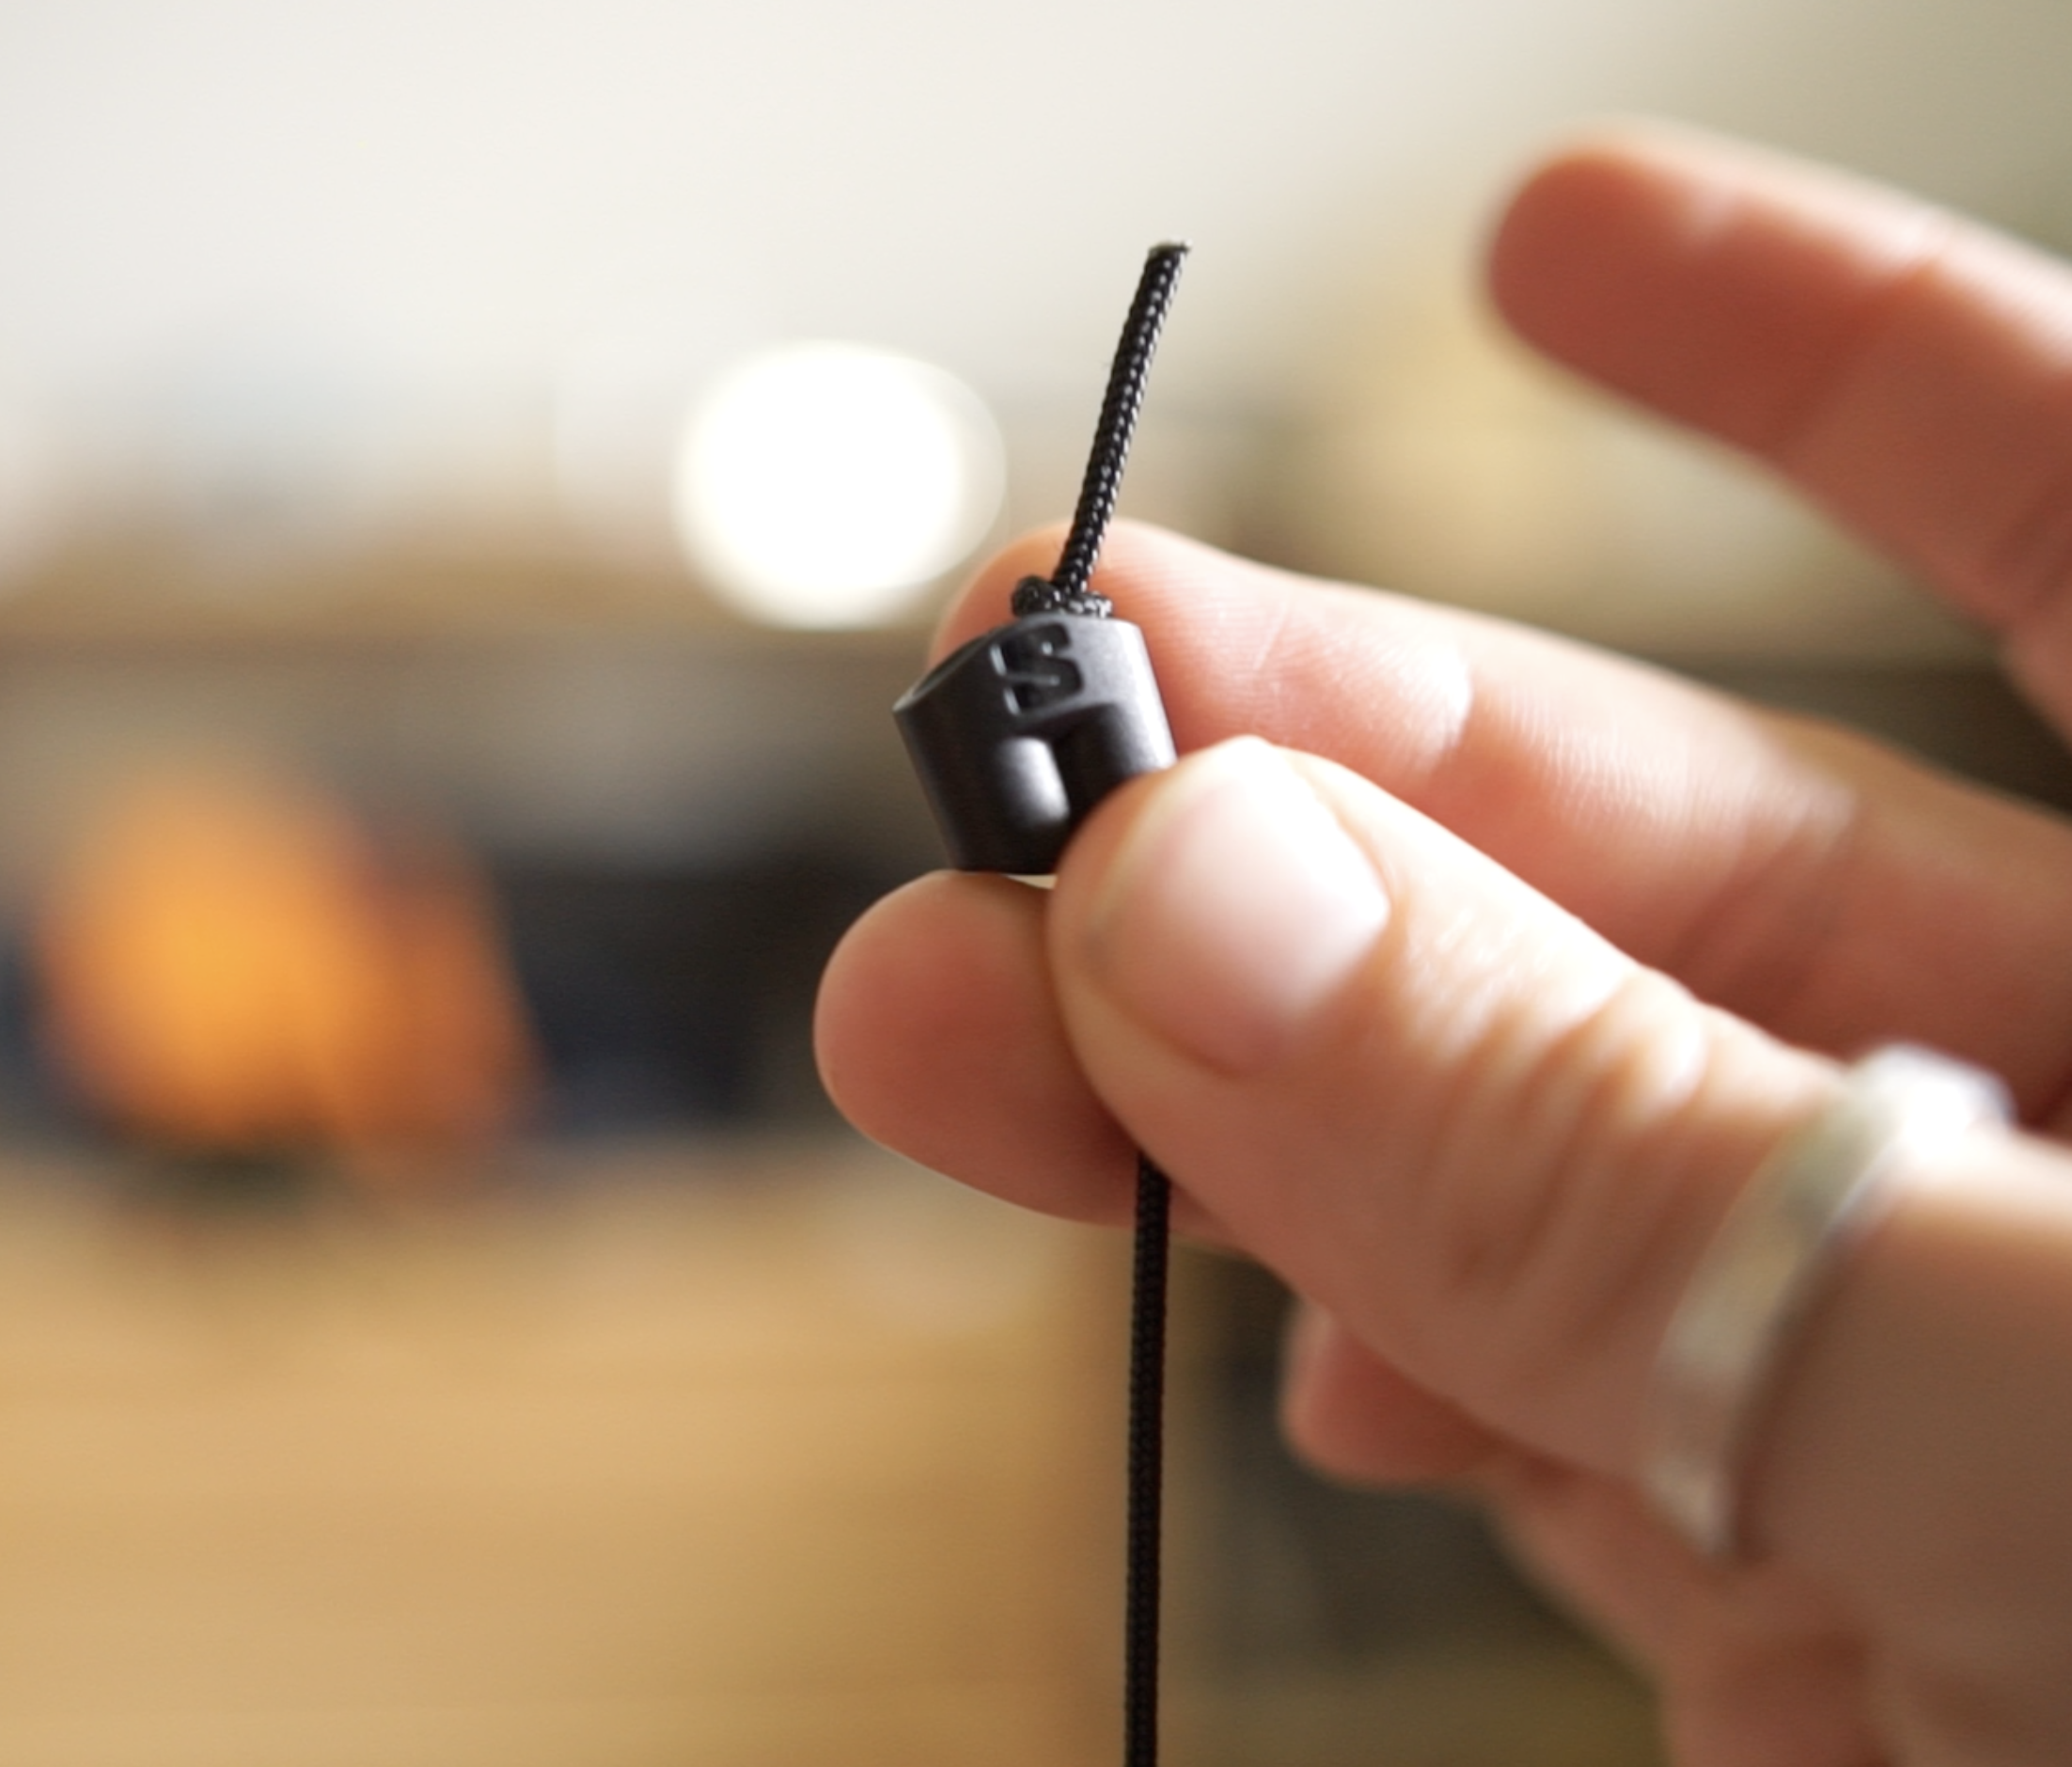
And now you have replaced your quick-release laces! Time to go forth and frolic, enjoy the trails once more. If you’re a more visual learner, I have a YouTube video that documented this whole process.